Dryer Vent Cleaning in Cumming – DIY Cleaning Tips & When to Call the Professionals
Dryer Vent Cleaning in Cumming –
DIY Cleaning Tips & When to Call the Professionals

Why should you clean your dryer's vent?
Clothes tumbling inside the dryer produce lint (fibers and other debris) during the drying process. Ideally, the dryer's filters should catch and store this lint. However, some of the lint may escape the filters, and it usually ends up in the ductwork connected to the vent. Lint trapped inside the dryer's vent can cause various problems, some of which are potentially catastrophic. Fortunately, you can prevent these problems and ensure that your dryer performs optimally through dryer vent cleaning.
Here is a step-by-step DIY guide on dryer vent cleaning in Cumming, GA. This guide also includes tips on why, when, and how to hire a professional.
The Importance of Cleaning Your Dryer's Vent
Reports by the U.S. Fire Administration reveal that clothes dryers cause more than 2,900 home fires annually. Lint trapped in the dryer's vents is one of the leading triggers of fires caused by dryers because it is dry and easily flammable.
A dirty or clogged vent can also lower the dryer's efficiency and damage some of its sensitive parts. The resulting complications can potentially damage your clothes. These and other factors highlight the importance of cleaning your dryer's vent.
When to Clean Your Dryer's Vent
Ideally, it is recommendable to clean your dryer's vent at least once annually. However, it is necessary to clean the vent when lint accumulates, even if it means cleaning it more than once annually. The following signs are good indicators that it is time to clean your dryer's vent:
- The dryer's outer surface heats up more than normal.
- The exhaust vent's clapper doesn't open fully.
- Clothes take longer to dry (or don't dry completely).
- Clothes feel very warm or hot after drying.
Albeit not common, you may also notice that the laundry room is more humid than usual. Last but not least, you may also pick up faint scents of burning fabric, indicating that the problem is advanced and nearing a critical point.
A Step-by-Step Guide to Dryer Vent Cleaning
First, you will need the following tools and equipment to clean your dryer's vent:
- A dryer vent brush kit.
- A vacuum cleaner with a long hose.
- A drill and screwdriver.
It is important to ensure that your cleaning tools and equipment are compatible with your dryer's design. You can then start cleaning the dryer vent by following these five easy and quick steps:
1. Unplug the Dryer from the Power Source
It is important to unplug the dryer from its power source (electric socket or gas/propane valve) to avoid the risk of causing a fire or getting electrocuted. You will also need to disassemble the duct to access the vent's interior.
Unplugging the dryer from its power source should be easy, and you can disassemble the duct using the screwdriver. It is also advisable to pull the dryer several feet from the wall to get easier access to the vent.
2. Brush the Vent
The next step entails cleaning the vent's interior using the brush. The brush will help dislodge the lint stuck to the vent's sides, making it easier to vacuum. It is important to insert the brush all the way and rotate it at a 360-degrees angle to ensure that you don't miss a spot.
3. Vacuum the Vent
The brush will help remove most of the lint stuck inside the vent, but not all of it. This is where the vacuum cleaner comes into play – it will suck the remaining lint out of the vent. To do this, insert the hose attached to the vacuum all the way inside the vent and switch it on. Push and pull the hose along the vent's length slowly and repeatedly until you are sure that all the lint is gone.
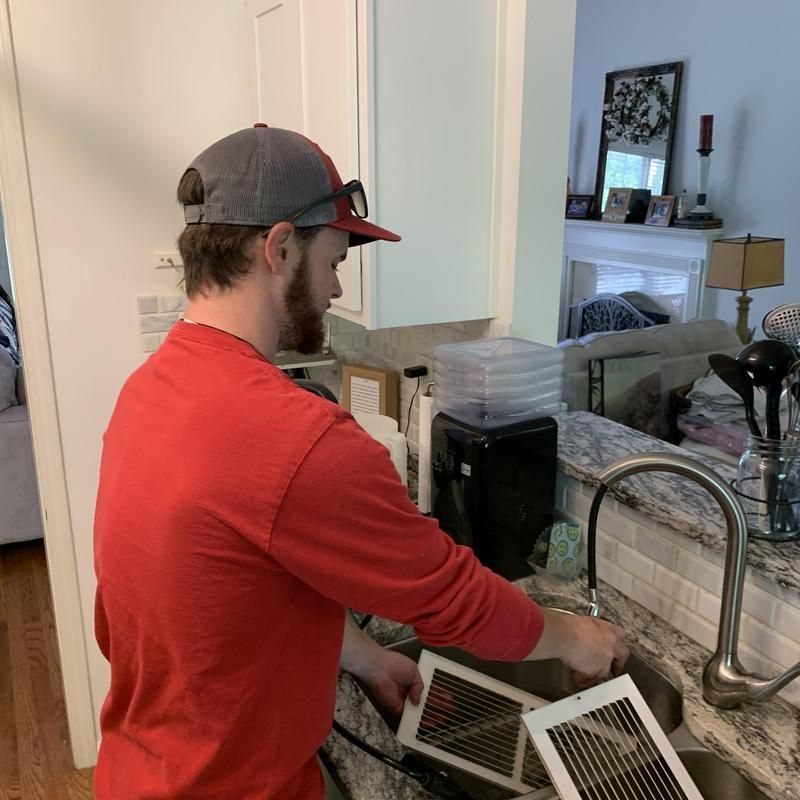
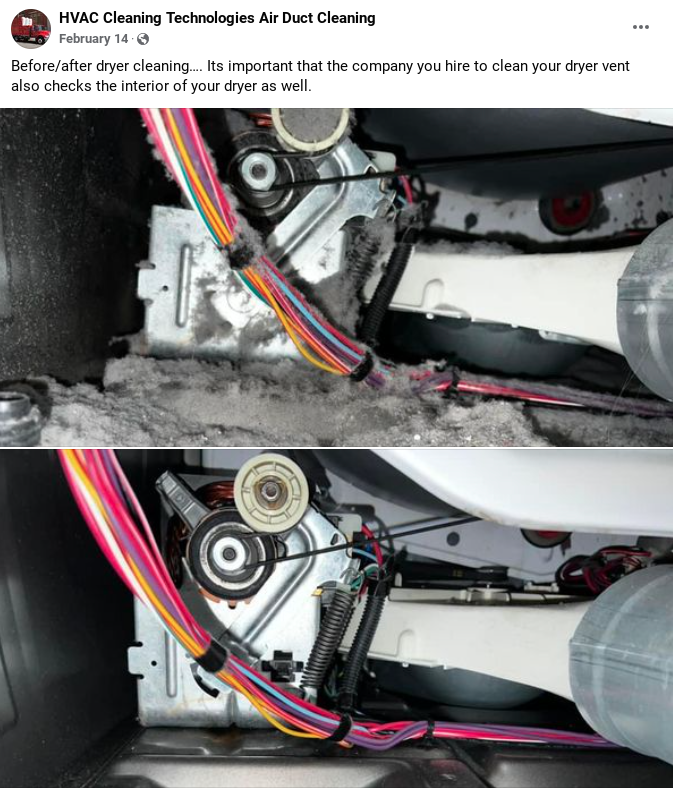
4. Clean the Dryer's Interior
Lint and other debris can find their way to other parts of the dryer, causing additional complications. As such, it is advisable to clean other dirty parts, including all of the ducts and supply and return registers.
It is worth noting that this may require other cleaning tools and further disassembly of some of the dryer's components to gain access to all of the dirty and clogged components.
5. Plug the Dryer Back into the Power Source
Finally, reassemble the duct and ensure that you tighten the screws. You can now plug the dryer back into the power source and give it a test run.
Why Hire a Professional?
A DIY approach to cleaning a dryer's vent isn't always easy or safe. Most modern dryers feature a complex design that may prove complicated for an unskilled or inexperienced person. In this case, you can damage the dryer trying to solve an otherwise simple problem.
It is also worth noting that cleaning vents attached to the roof will necessitate working at an elevated height. This makes the task more complicated and poses the risk of falling, potentially resulting in mild-to-serious physical injuries.
It is prudent to consult and hire dryer vent cleaning specialists when presented with these and other risks and challenges. Most importantly, ensure that the company you hire is competent and certified. Experts recommend consulting a NADCA-certified specialist.
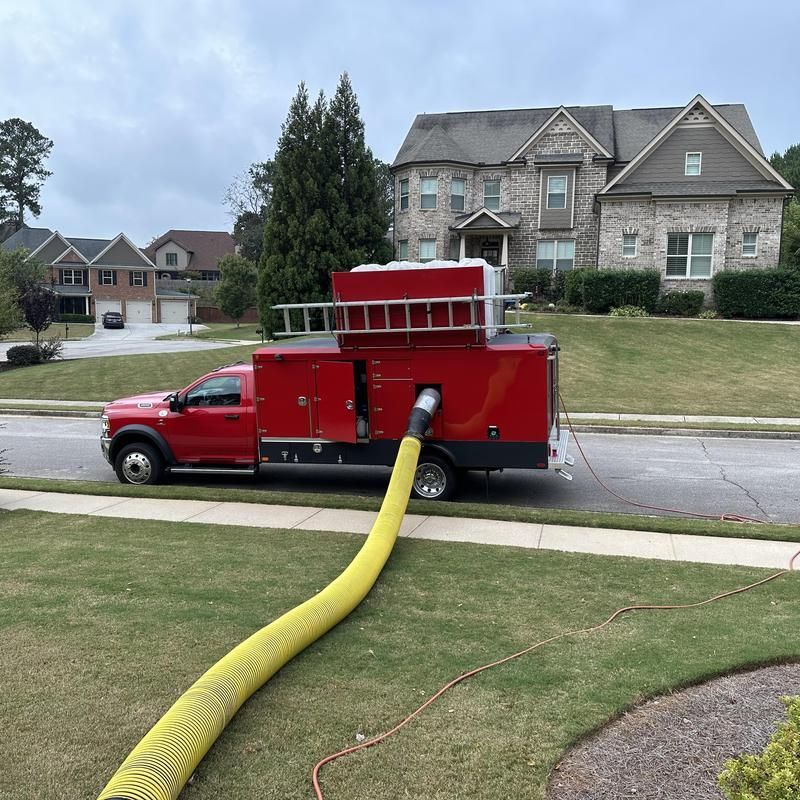
Let Us Help
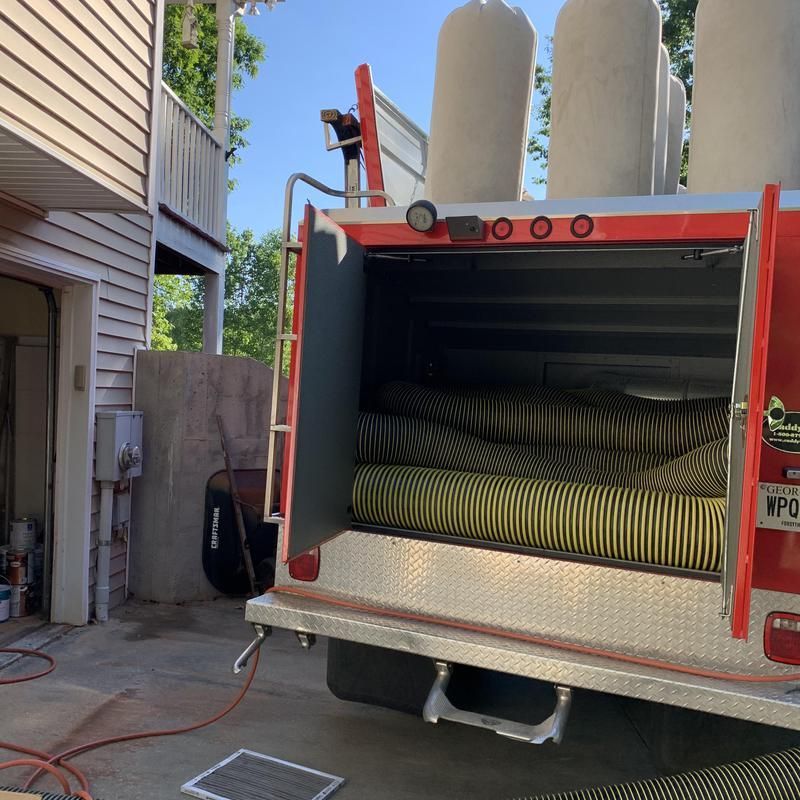
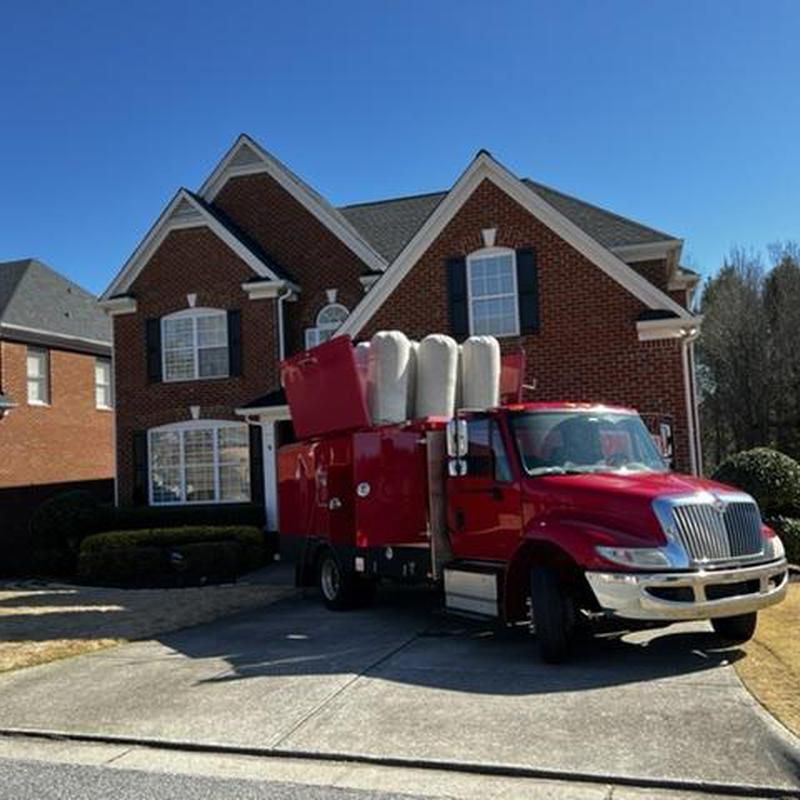
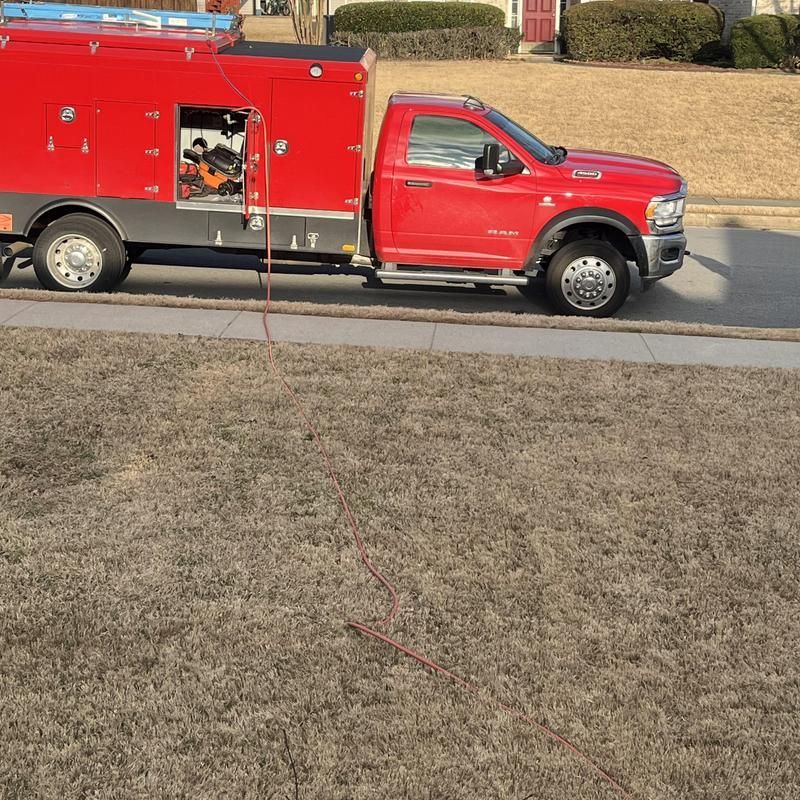
A professional dryer vent cleaning specialist will get rid of all of the lint inside your dryer's vent. HVAC Cleaning Technologies specializes in cleaning dryer vents in commercial and residential HVACs – we also remove mold and clean air ducts. Our brand is NADCA-certified, and our specialists are highly skilled and experienced.
HVAC Cleaning Technologies serves clients across Forsyth County, the Lake Lanier region, and Cumming, GA.
Get in touch today to learn more about how we can help.